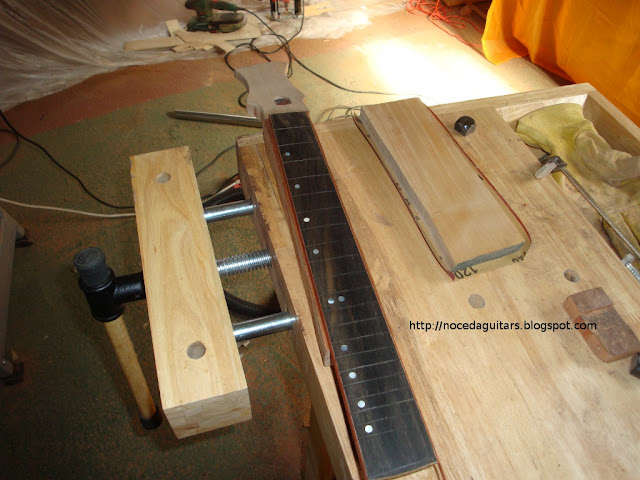
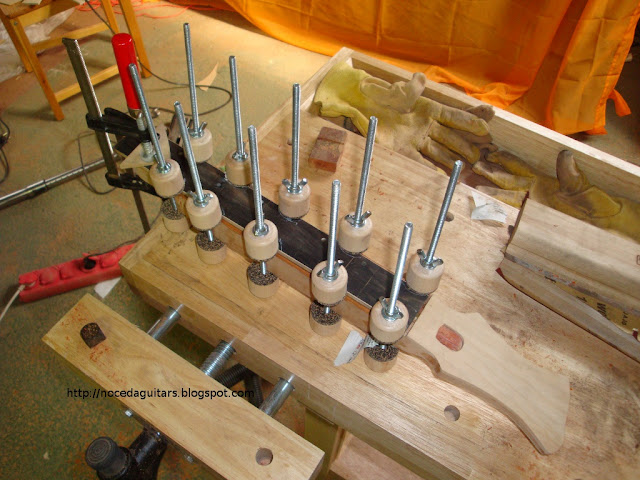
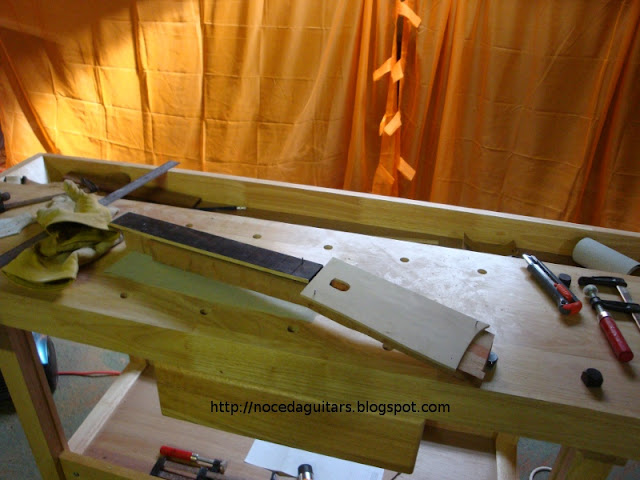
Now we have the fingerboard glued to the neck. The next step it to cut the excess wood of the neck, first with a saw, and then with a planer or with a router and a ball bearing router bit. using the fretboard as a guide.
Next step, fitting the frets.
Saturday, July 31, 2010
Tuesday, July 27, 2010
Neck and fingerboard glued
Today I have finished of gluing the fingerboard
You can't see it but there are inlayed MOP dots waiting for a 12" radius.
Labels:
guitar building,
travel guitar
Tuesday, July 13, 2010
Travel guitar headstock
This entry it's only to show the work done in the baby guitar's headstock:
Maple veneer glue in.
Headstock shaped:
.. and back ..
Maple veneer glue in.
Headstock shaped:
.. and back ..
Labels:
baby guitar,
guitar building,
guitar headstock,
travel guitar
Friday, July 9, 2010
Headstock
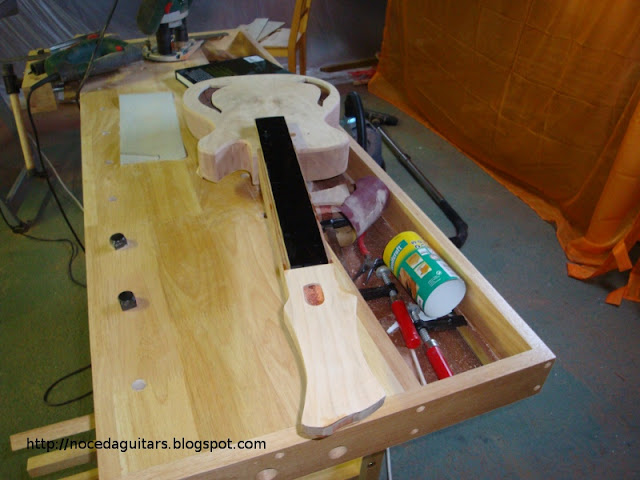
I any small guitar, special care have to be taken in the design of the headstock.
It has to be small, but not so small that you can't turn the tuners.
My design it's traditional but in a reduced scale:
It has to be small, but not so small that you can't turn the tuners.
My design it's traditional but in a reduced scale:
Labels:
guitar design,
guitar headstock
Thursday, July 1, 2010
Baby guitar mock up
This post it's only to show that I'm still hard working in the "Baby guitar":
A pic worth one thousand words ...
Labels:
baby guitar,
guitar building,
travel guitar
Subscribe to:
Posts (Atom)